Occasionally, you may have the need to store particular data in Pereview that changes over time that does not necessarily fit within a pre-existing page of Pereview. Custom Forms allows users to create entirely new sections within an existing page of Pereview. These new sections will be created under the various Details tabs of the relevant system objects (Asset, Development, Transaction, Ownership, Portfolio).
To create a Custom Form, in the top nav bar navigate to Site > Admin > Custom Forms.
To begin, select the type of custom form you want to create from the first dropdown menu. The type of custom form controls where the new section will be created. For example, when you select “Asset” as the custom form type, the new page will be created as a new section under the Asset Details page, appearing in the left-hand navigation pane.
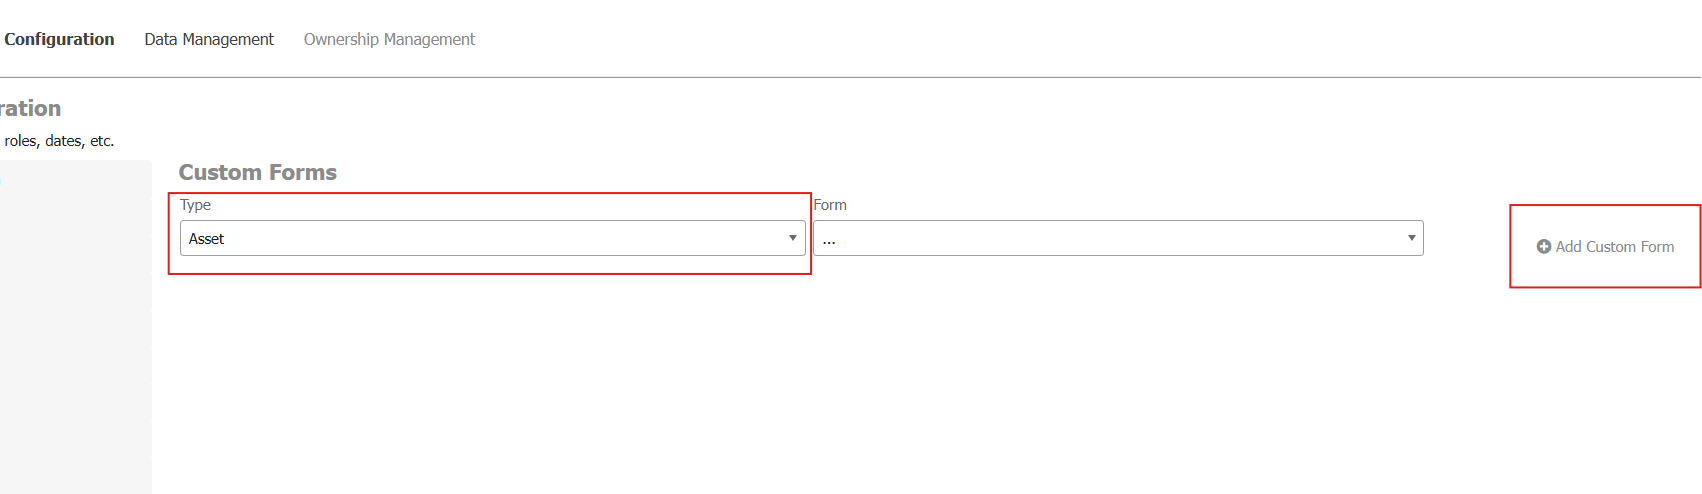
Once you have selected the custom form type, click Add Custom Form button on the right. Note: If you are creating a new custom form, leave the “Form” drop down menu blank. If you want to view or edit an existing custom form, you can select from the Form drop down menu to see previously created custom forms.
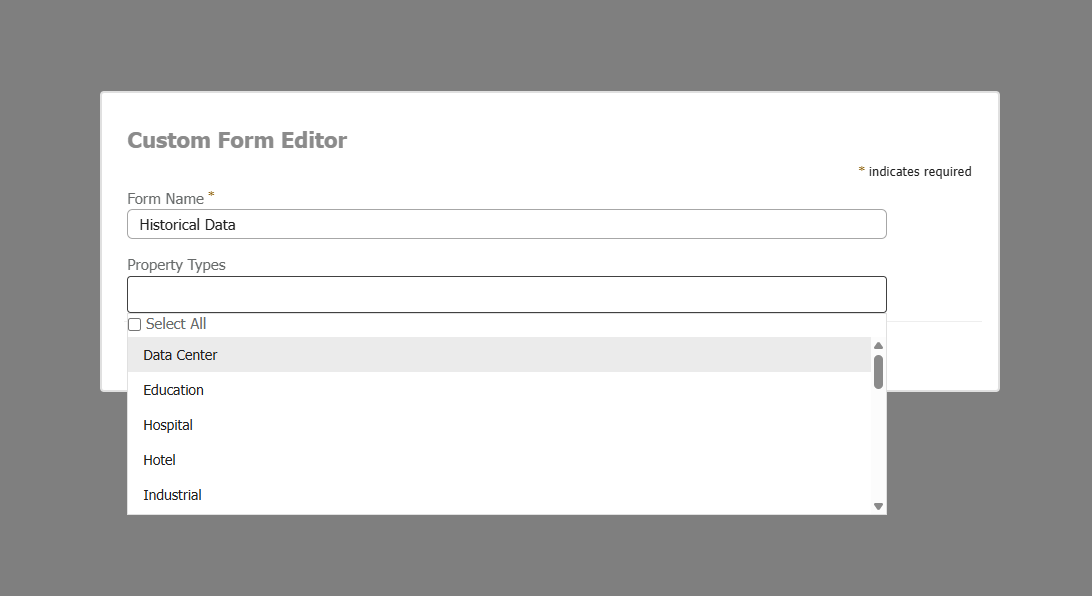
Once you click New Custom Form, you will be prompted to give the custom form a name and configure what property types the form should display on. For example, perhaps you want to create a new section on Asset pages, but you only want to display the new section on Multifamily Assets. Multiple asset types can be selected, or you can leave it blank to have it display for all asset types.
Click Save once complete, which will create a new blank custom form. A new grid will appear at the base of the page, and you can begin adding the custom fields that you would like to appear on your new custom form using the Add Field button in the top right corner of the grid. When setting up a custom field within the form, ensure you check Show in Grid if you want the field to be visible.
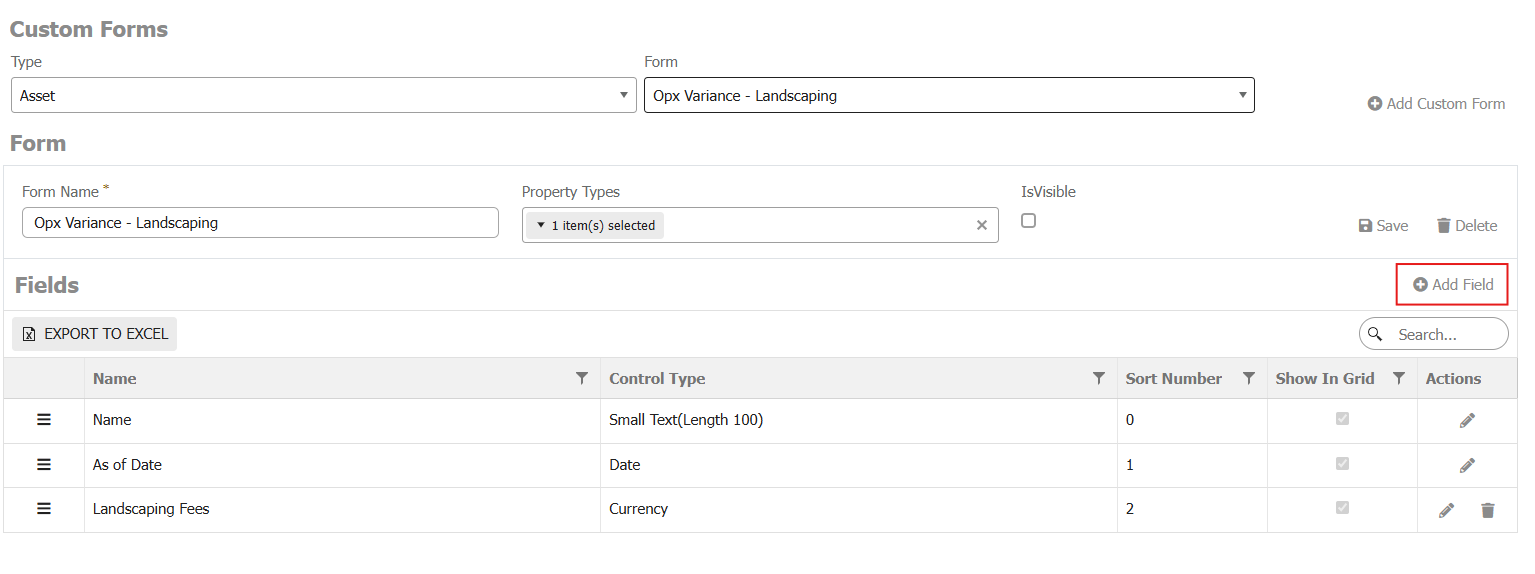
Once all necessary custom fields have been added to the custom form, ensure you click the Save icon in the grid to save your changes. Your new custom form and the associated fields will now be displayed on the relevant system object (Asset, Transaction, Loans, etc.).
Note: If you are attempting to delete a custom field within a custom form but do not see the option to do so, it most likely means there is data stored in that custom field. The data would either need to be deleted first, or the custom form itself be deleted.
This video walks through how to create and configure a Custom Form in Pereview. You’ll learn how to define the form, add and customize fields, and begin entering records using a tax credit example.
Once created, the form appears under Asset Details for relevant investments, making it easy to capture and update evolving data.